MATERIALS | POINT | VECTOR | CURVE | PLANE | SURFACE
POINT
The instructions in this section will indicate how to place points in your 3D-Kit.
Example: The following instructions indicate how to place the point (2, 4, 3) in your kit:
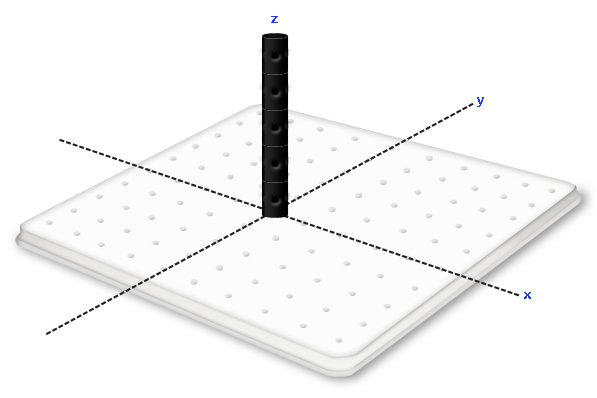
- Identify the x, y, and z axes as illustrated in Figure 1
Figure 1
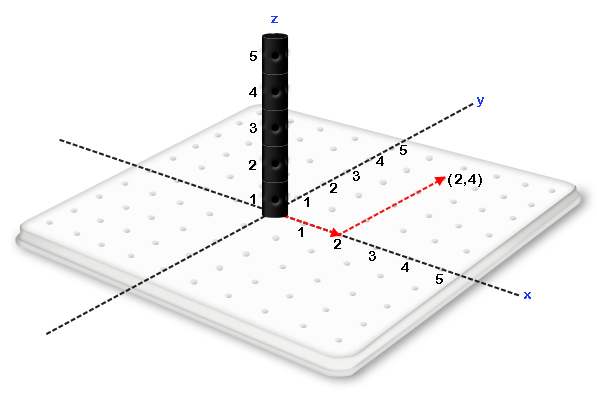
- From the base of the z axis, move two spaces to the right along the x axis and four spaces forward parallel to the y axis. This should place you at the point (2, 4) on the xy plane as we are accustomed to seeing from Precalculus I.
Figure 2
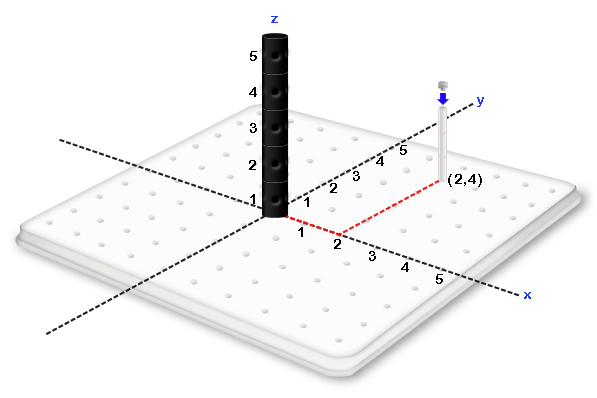
- From (2, 4, move 3 spaces upward parallel to the z axis placing pegs and a magnetic cap as demostrated in Figures 3-6.
Figure 3
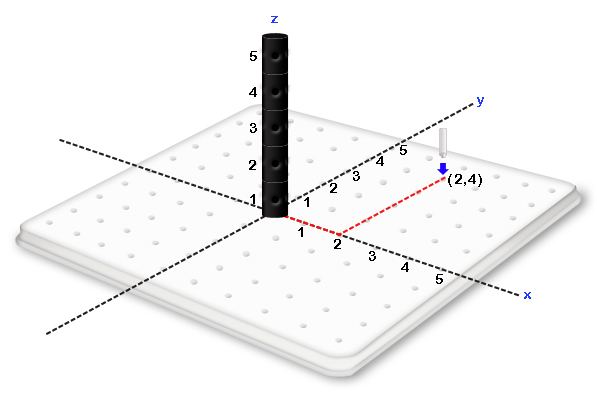
Figure 4
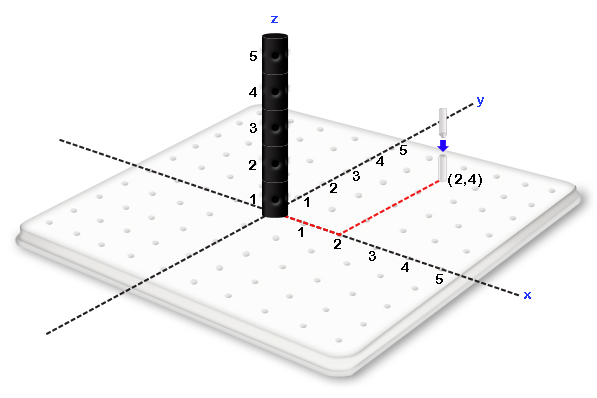
Figure 5
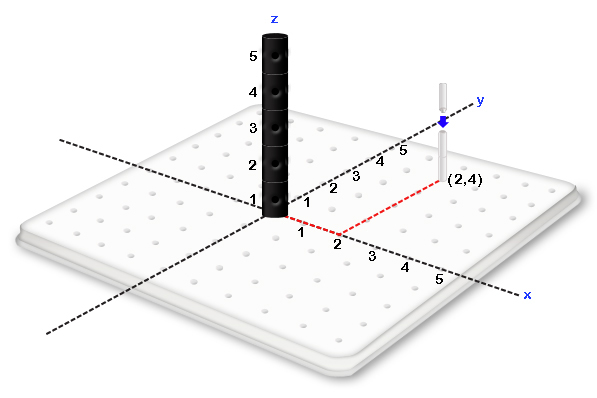
Figure 6
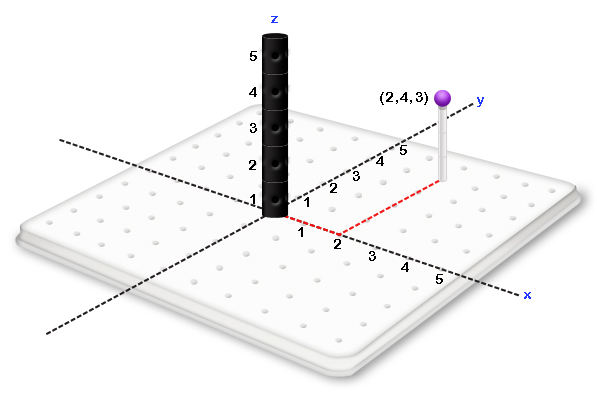
- Place a magnetic marble to represent (2, 4, 3) as shown in Figures 7-8.
Figure 7
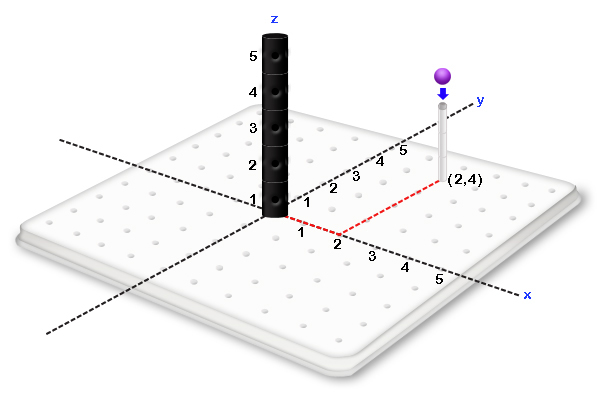
Figure 8
|